3.1 Install bash - and create a new user!
TRANSCRIPT:
Install bash... Or wait a minute, it’s already done. Bash is pre-installed on your droplet, as it’s the built-in language of Ubuntu.
I talk more about bash (sometimes referred to as the “command line”) in another online video course of mine. For now it’s enough if you know that you need to care about learning bash, because:
- You will use it for every basic server operation, like moving files between folders, creating/deleting files, automating data scripts, installing new tools (like R, Python and SQL), giving permissions to users, and so on.
- You will find it’s also a powerful data tool.
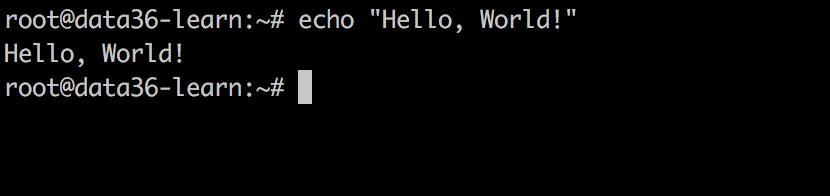
But for now, just execute your first command: “Hello, World!”
echo 'Hello, World!'
“Hello, World!” will be printed on your screen.
This means that bash is working, so we can just move forward and execute our second, more important command.
We are going to create a new user called dataguy:
adduser dataguy
You can add anything here in place of “dataguy;” it can be your name or whatever you’d like. But I’ll go with dataguy, and use it in the examples from here on out. Okay.
adduser dataguy
I’ll hit enter, and we get some text on our Terminal screen. The important part is the last line: you need to specify a new password for this new user. Type it! Then type it again!
Then some more text will come up.
You’ll be asked for the real name of this new user. So I’ll type Tomi. And you can leave the rest empty by hitting ‘Enter’.
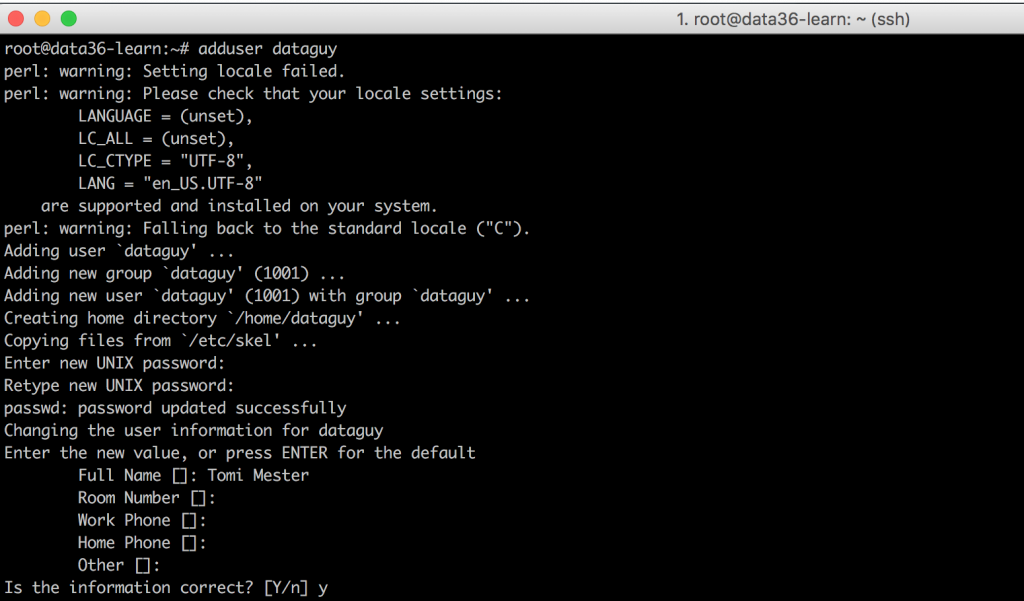
What happened here is that we have created a new user.
Why we have done that?
This is needed to perform installations. So far your username has been “root”, and for security reasons “root” user is by default denied permission to do a few important tasks that we want to do anyway.
Okay, let’s execute one more command to give the necessary privileges to your new user:
usermod -aG sudo dataguy (Obviously: If you didn’t use “dataguy”, don’t forget to replace “dataguy” with your username.)
From now on, we won’t use root, we will use this new user we have just created. So let’s log out from root user:
exit
This command will close the connection between your computer and your remote server. Log back in with your new username! Do everything the same way as in the previous video (Login to your Data Server), but change root to your new username (in my case “dataguy”) and to your new password. As I’m on a Mac I’ll type this – for instance:
ssh dataguy@46.101.128.25
Now you are logged in as a normal user and not as root user. Great! Let’s continue by setting up Python.